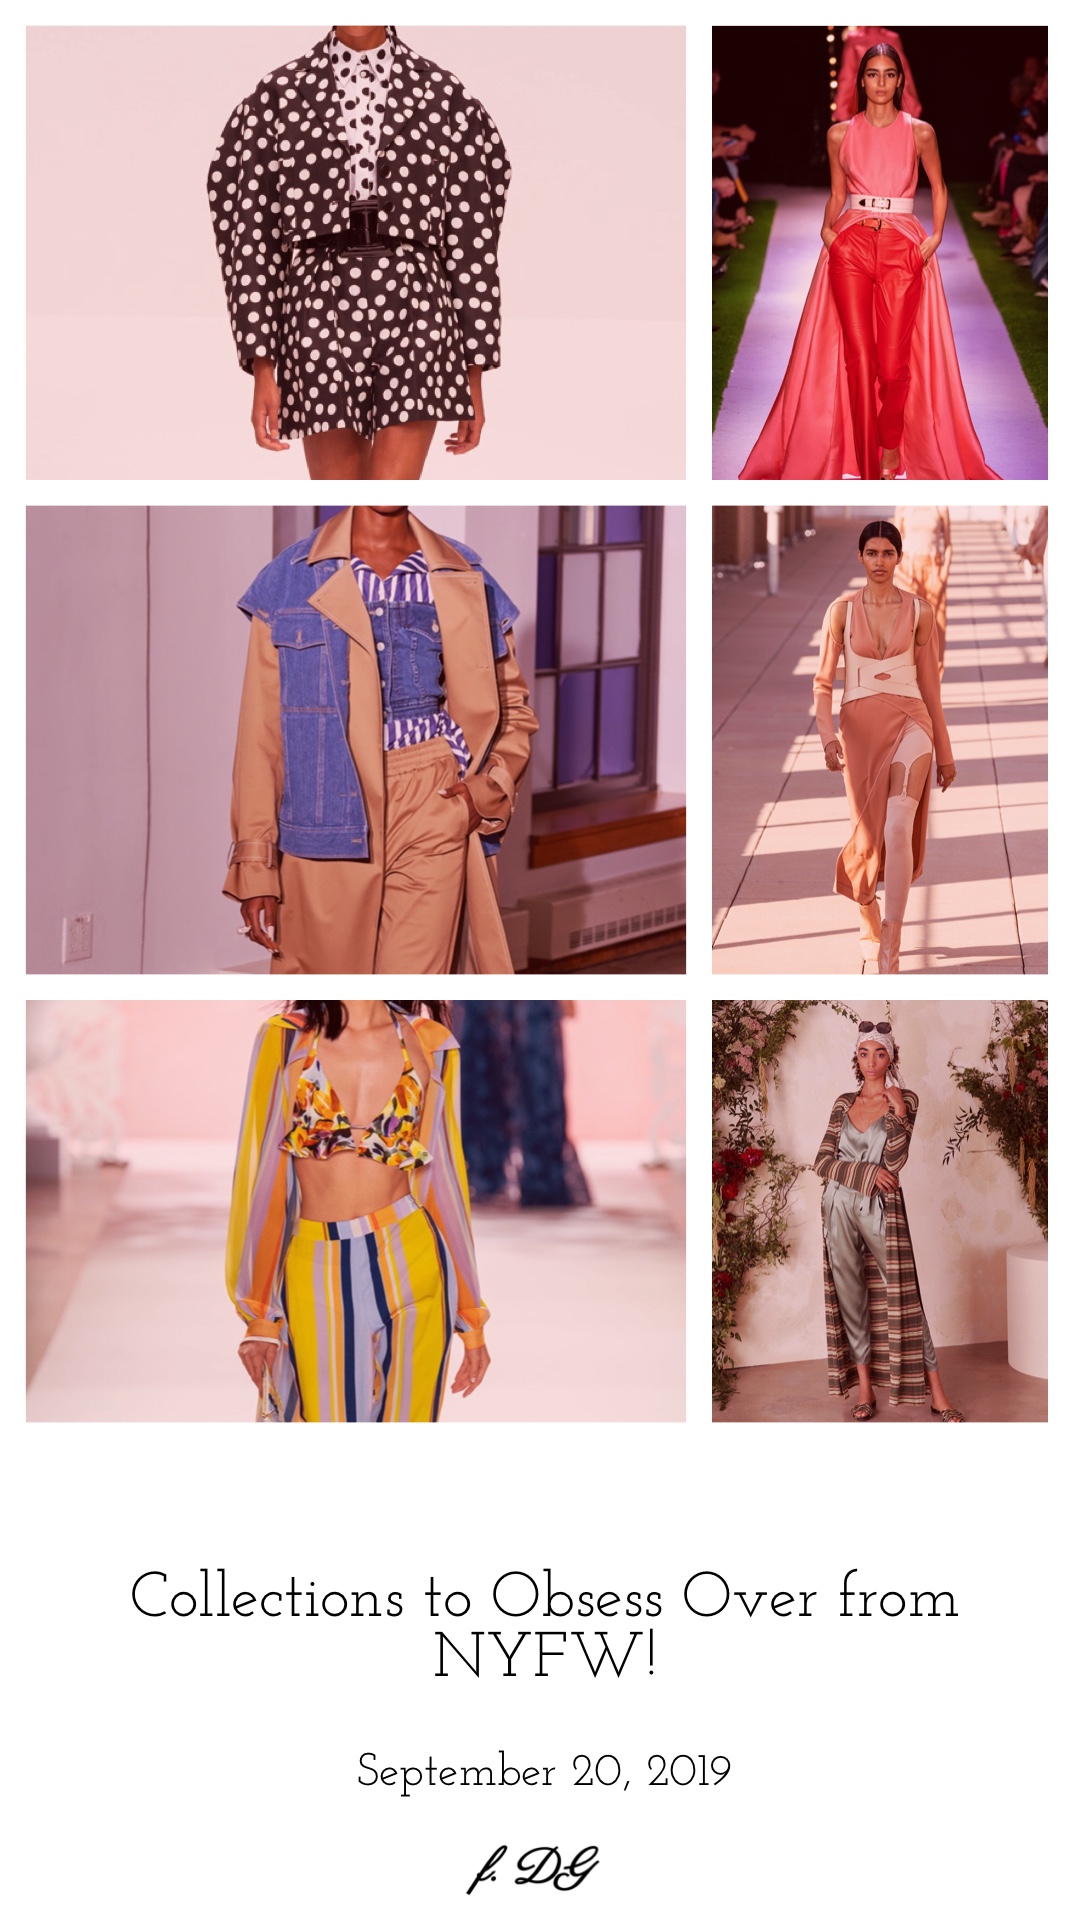

Five Beneficial Skills to Have Before Beginning a Fashion Styling Internship
There’s no better way to figure out how interested you are in joining a certain industry than to test the waters before diving in the deep end. Of course you can enroll in a college or university and get the required education to be certified for it, but that doesn’t mean you’ll love it as soon as you land your first job post-graduation. Thankfully, companies are always looking for interns to help out, whether it’s for a weekend for a certain event, or to help out with day to day duties for several months. From the beginning of January to the end of April, I was the stylist / merchandising intern with a Miami-based company called ICO Uniforms. To keep it short, they’re an apparel company that sells stylish, corporate attire for men and women. They also design hotel uniforms for major companies such as the Marriott Hotels, Sandals Resorts, and Carnival Cruise Lines. During my four months of interning there, I was able to assist quite a bit with off and on-figure styling, I did a BUNCH of sample trafficking, and during my last week, I was able to assist with a large photoshoot with one of our major clients. Walking in, I already had some skills under my belt, but there are also a few that I wish I did have before my first day. From that, I’ve put together a short list of simple and easy skills that you’ll want to brush up on that will definitely make a good impression on your internship supervisor!


Basic Pinning Techniques
If you’re interning under a stylist that’s known for their work for magazines, or you’re interning for an online clothing company, it is absolutely necessary to know how to pin garments. You could be pinning the back of a pair of trousers to make them more tailored, pinning the bottom of another pair of pants to hold a temporary hem, or simply pinning a garment because the model’s size wasn’t available. During my internship, when it came to styling mannequins to send to clients, they wanted the garments to look PERFECT. If there were any kind of wrinkles in the clothing caused by the pose of the mannequin, they wanted you to pin the wrinkles away. If the sleeve on the top stuck out a little too much, they wanted you to pin it so that it would be more fitted on the arm. If the collar of a blouse didn’t fall properly, they wanted you to pin it or tape it to the mannequin to hold it in a more visually appealing position.The goal was to make the garments as desirable as possible to our clients. Another reason that you’ll want to know how to pin garments is for alterations. In my personal experience, there was always a seamstress around for if we did need to do alterations, but let’s say your company doesn’t have an in-house seamstress, and you get asked to prepare the garment to be altered, you’ll want to be able to do it with confidence. In a way, internships are like an extended job interview; you always need to be in a mindset that you’re proving yourself capable of the job.
2. Adobe Photoshop
If you’re interning with a company that has an in-house photographer, you may be tasked with assisting with editing photos. As a result of how advanced photo editing software has become, there is a loooooooong list of edits that a person can do to a single photo. Among some of the most common are lighting adjustments, enhancing the beauty of the model / improving the appearance of the product, and clipping out any background distractions that may takeaway from the subject. Depending on the job that the styling is being done for, you may find that some edits are more focused on adding to the beauty of the model, and then there are others that are more concerned with how flawless the product can be portrayed. Since the company I interned with was more product-focused, our edits mainly included recoloring, smoothing out unsightly wrinkles on the clothing, and if necessary, lengthening / shortening a garment or tapering / making a garment appear to be more fitted. Unfortunately, I never learned to recolor, so I can’t say what tools are used for it to be done, but as far as the other edits, the spot healer, clone stamp, and liquify tools are what we used to get the job done. The clone stamp and spot healer tools are two of the easiest tools on photoshop to learn how to use, so with the help of a few youtube videos, you’ll be good to go!
3. Basic Knowledge of Digital Photography & Studio Lighting
You aren’t a photographer, so don’t stress yourself with trying to learn every little thing about photography and studio lighting. Basic knowledge is simply the functions of the camera and what purpose certain studio lights serve in creating photo effects. For example, the shutter speed is how long the lens is open before the photo is captured. The longer it’s open, the more exposed the photo is which is how bright it appears to be. If it’s a faster shutter speed, meaning the lens is open for a shorter amount of time, the photo will have less exposure to light and it will appear to be darker. This function is also great to know when you’re shooting something that is in motion because it affects the amount of blur the photo will have. Alongside shutter speed, the aperture and ISO are both functions of a camera that affect how a photo turns out, so those will definitely be useful to know. I took a photography class my sophomore year of college which is how I knew the basics of using a camera, but it wasn’t until my internship where I learned a little about studio lighting. An example of a light that will most likely be used while shooting models in a studio setting is called a beauty dish. The name honestly speaks for itself - its use is to provide an effect that enhances the light solely on the model’s face. We used it any time we were shooting models in the studio, but from what I’ve read its most often used in portrait photography. If you don’t intend on taking an official class to learn about studio lighting, the best way to familiarize yourself is to research common studio photography lights, and find before and after photos with and without using each light so that you can see the difference it makes for yourself.
4. How to Tie a Tie
This one may seem like a given, but I felt the need to include it because I was that intern that had never tied a tie a day in her life. Fortunately, I was never asked to do it, but there were times where I was assisting with styling mannequins that having that skill could have given me a few brownie points. Even if you’re a styling intern for a company that is strictly women’s attire, still know how to tie a tie. With my company, we styled both women and men in looks that included a tie, so don’t think you’re safe just because you aren’t styling men. There’s no need to panic though, it isn’t a hard skill to master; I got the gist of it just by observing someone else do it a couple of times. The only tricky part can be getting the tie to fall at the right length. From what I was told by the stylist assistant, a tie should fall right around the beginning of the belt line. I’ve read that some people extend their ties a little beyond that point and it’s still considered acceptable, but I’ve never heard of anyone going shorter with the length of their tie. So it’s safe to say when tying a tie that you want it to at least hit the belt line. I’ve found that it’s easier to tie a tie on another person, but for some people it’s easier to start the tie on themselves and then finish it on the model. The best way is what works for you, just as long as the end result is a properly tied tie!
5. How to Use a Steamer
Using a steamer isn’t rocket science, so this tip is less of simply knowing how to use one and more of how to do it well and efficiently. Believe it or not, steaming garments plays a huge part in the flow of a photoshoot, so essentially it’ll be up to you to make sure the clothing is ready for the model(s). As a fashion styling intern, you’ll come to realize that steaming duty is something you’ll frequently be expected to do, so you really don’t have a choice but to do it well or unless you’re trying to get replaced. There isn’t much that I can advise in regard to how to do it quickly, you just have to have that sense of urgency. There were days where the ONLY thing I was tasked to do was steam; constantly standing and bending down, sometimes on my knees in order to get the the finest wrinkles at the hem of a pair of pants . It was time-consuming and honestly very tiring when doing it for a solid seven or eight hours, but it never bothered me. I just knew I was still contributing to the bigger picture, which was to have a successful shoot.
• • •
As a last piece of advice for beginning a fashion styling internship, no matter what your day to day duties are, just make the best out of your experience. You may feel like you’re being given busy work or the type of tasks that require little to no skill, and you may begin feeling discouraged that you aren’t getting the kind of hands on experience that you were wanting. I’m telling you … don’t do it yourself. Regardless, even if you aren’t the one choosing looks, you’re still seeing first hand what styling is all about. You’re seeing beyond the glamour and fun of it all, and that right there is what will tell you if the styling industry is right for you. If you can’t handle what is necessary to be done behind the scenes, I guarantee you’re going to hate the job. That’s why I would highly recommend finding an internship at some point in your college career so that you can get a feel of what you think you want to get yourself into. Best of luck!